
FINALLY, a leatherette that looks and feels like the real thing!
"It delivers perfect laser contrast every time , and in a busy shop we need consistency and quality. We won't go back to our old supplier"
Kevin Dirty Dog Embroidery N.S
0.8mm (No Backing)
Ideal for tags, labels and decor projects.
1.2mm Foam Backing
Ideal for knitted hats and keychains.
1.8mm Foam Backing
Ideal for patches on items with structure
Premium Leatherette Sheets
Durable and stylish leatherette sheets perfect for laser engraving projects.
Craft high-quality personalized items with our easy-to-use leatherette sheets.

Tested on Thunder Laser Machines
Unlike other laser supply companies, we are makers first and foremost! We've spent the past 3 years selling lasers (Thunder Laser Canada) and the past 10 running Fuse33 Makerspace where we teach members to use many brands of lasers- so we've seen it all.
From conventional uses for materials to the most unconventional and unique, so we know our materials!
Tips for Engraving & Cleaning Leatherette
- Critical: Do a materials test before you engrave or cut the leatherette
- Turn AIR OFF while engraving
- Use the correct line interval for engraving (Bolt / Odin / Nova Plus and Titan=" .06," Nova glass tube=" .08 ) This will automatically change the lines per inch as well.
- If you have adhesive on the back, it's harder to cut through than just the material, so make sure have adhesive on the back when you do your materials cut test. (AIR ON for cutting)
- When the material test is done, choose your settings. it's best to choose one of the lower numbers in the grid since the darker engraves can leave a more soot to wash off.
- Before you engrave an entire sheet of patches or labels, engrave one or two at a time at one of the lower settings to ensure you get the result you want.
- Clean smoke marks off using LA Awesome (THE BEST) and a microfiber cloth
Note: Many leatherettes will sell will have similar materials settings, however, the ones with gold or silver under will vary a lot more than the color and black under options.


Note: Higher temperatures will affect the shine on reflective materials. Use a lower temperate and parchment paper to protect the surface.
Adding Adhesive to your Leatherette
- Use a heat press: We recommend Vevor brand
- Grab some parchment paper and place on the top face of your Leatherette when pressing. This will prevent discoloration from the heat and prevent adhesive from getting on your heat press
- To attach adhesive: Most colors require 160 C / 320 F for 10-15 seconds to attach to the back (and the same to adhere to the item)
- Note: Use a lower temperature for reflective materials such as silver, holographic gold etc (120 C / 248 F)


Frequently Asked Questions
Answers to common questions about faux leatherette sheets and laser engraving.
What types of leatherette sheets do you offer?
We offer various leatherette textures and thicknesses, including soft, textured, and smooth finishes, carbon fiber, cork and more!
We offer 0.8mm material only options as well as 1.2mm foam backing and 1.8mm foam backing.
Felt backing or glow in the dark options available for special order. inquiries@locallasersupply.ca
Are leatherette sheets suitable for laser engraving?
Our Leatherette sheets are excellent for laser engraving with precise and clean results, perfect for custom projects.
Can I buy a sample of leatherette?
We have samples available so you can test before you commit to buying a full sheet of leatherette.
Just check out our leatherette collection and select the Sample size (3.5"x5") on the product page.
How do I clean and engraved faux leatherette sheets?
Yes- just use LA Awesome of Zep and a microfiber cloth.
Make sure to do a materials test beforehand to ensure you don't overburn your engraving (this makes it harder to clean especially on lighter colors).
Do you have more colors or sizes of leatherette other than what I see?
Yes you can check out our full catalogue here
If you don't see the color you want on our site, we can pre-order you some!
If you don't see the color you want on our site, we can pre-order you some!
What settings should I use on faux leatherette
All of our leatherette comes with a materials test done on a 30w RF Thunder Laser Bolt machine.
To deduce settings for your machine wattage use this chart or (ideally) run Materials Test in LightBurn.
Use low/no air for engraving.
To reduce smoke spots, turn on your air 15 seconds BEFORE you start engraving in your machine settings. Link: Article here.
Related Products
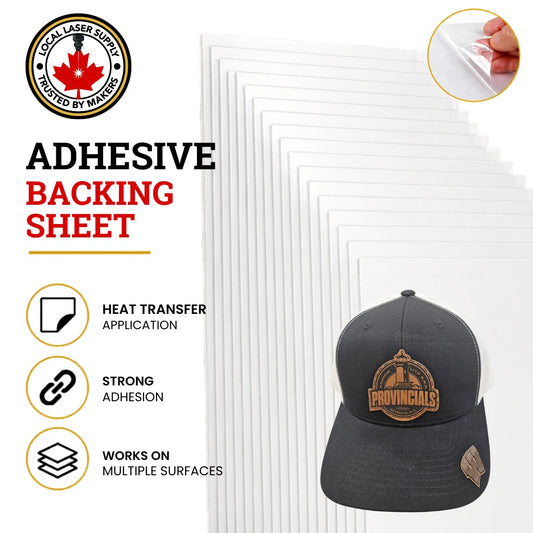
Add Heat Transfer Adhesive to Faux Leatherette
This adhesive is sticky ideal for placing on curved surfaces...
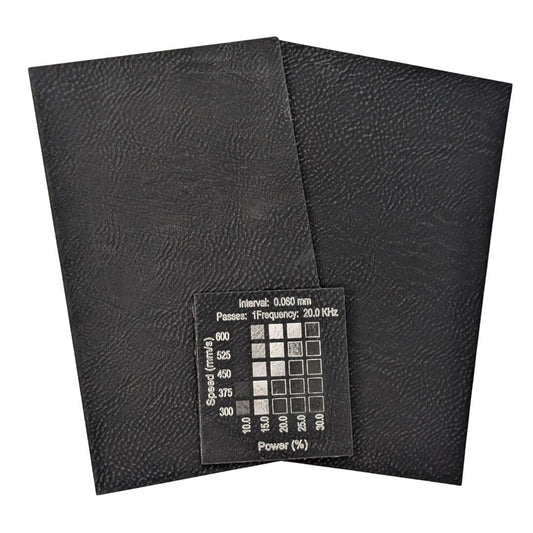
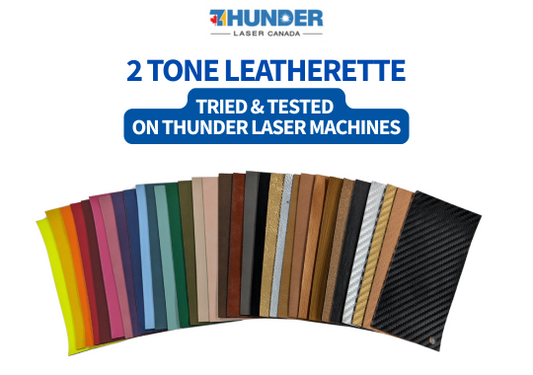
Black Silver Faux Leatherette Laserable Sheets | Best Selection & Backing Options
Black Silver Faux Leatherette Laserable Sheets | Premium Material for...
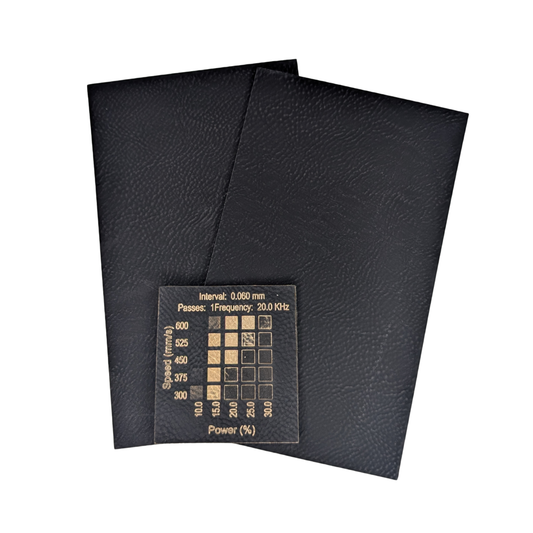
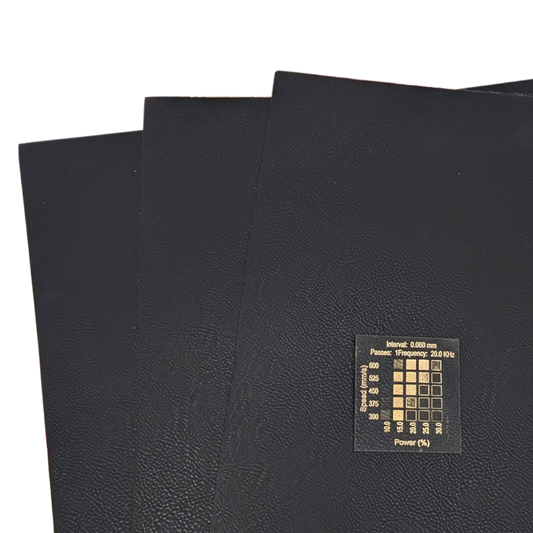
Black Gold Faux Leatherette Sheets for Laser Engraving
Black Gold Faux Leatherette Sheets for Laser Engraving Get the...
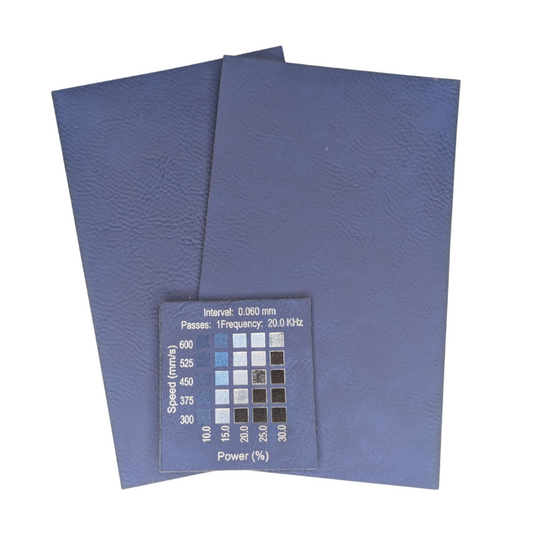
Blue Silver Faux Leatherette | Laser Engraving Patches Material| Local Laser Supply Canada
Blue Silver Faux Leatherette Laserable Sheets – for Laser Engraving...
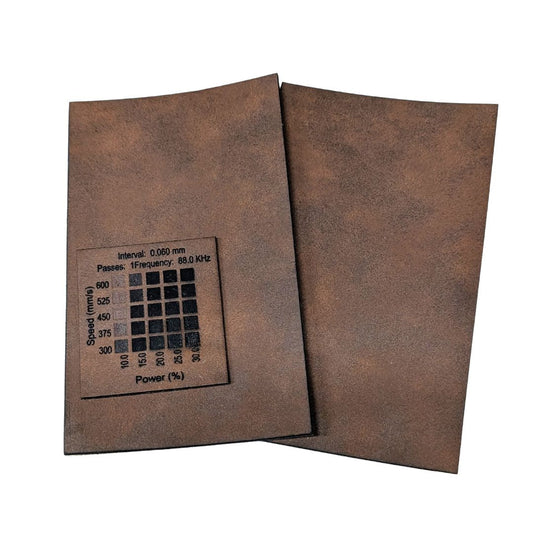
Matte Dark Brown Faux Black Leatherette Laserable Sheets | Local Laser Supply Canada
Matte Dark Brown Black Faux Leatherette Laserable Sheets Get the...